
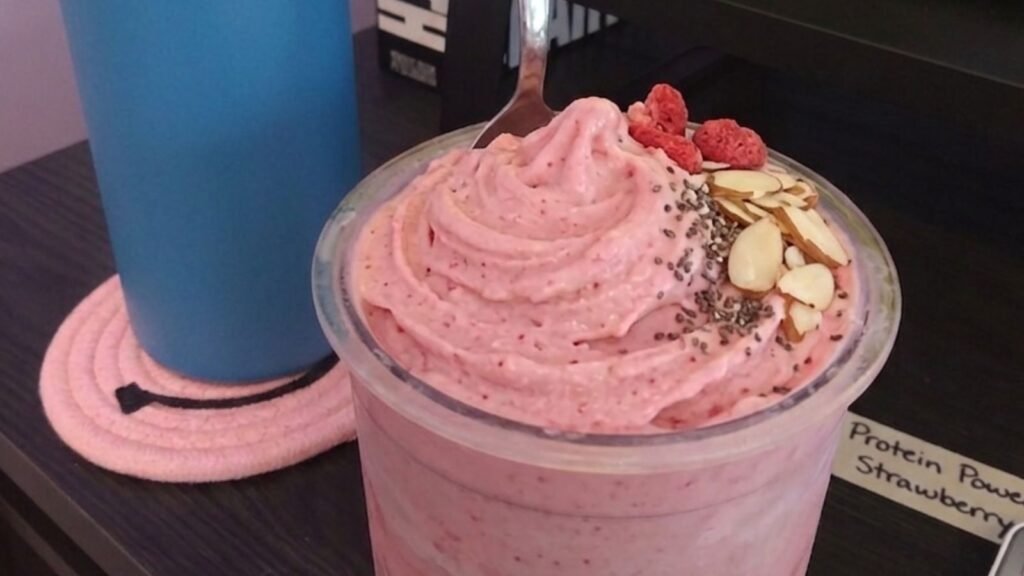
Desserts don’t have to derail your health goals, and that’s where protein-rich ninja creami recipes become your secret weapon. When you’re craving something sweet and satisfying, traditional sugary desserts can send your blood glucose on a rollercoaster ride, leaving you with energy crashes and uncontrollable cravings hours later.
But here’s the good news: a protein-rich dessert works differently in your body. When you combine protein with your frozen treat, you slow sugar absorption into the bloodstream, which means more stable energy levels, greater satiety, and fewer dramatic blood sugar spikes that leave you reaching for more snacks. This isn’t just about willpower or deprivation; it’s pure science. Adding protein to your desserts creates a metabolic advantage that keeps you satisfied longer and helps maintain steady insulin levels throughout the day.
What Is Ninja Creami and How to Use It
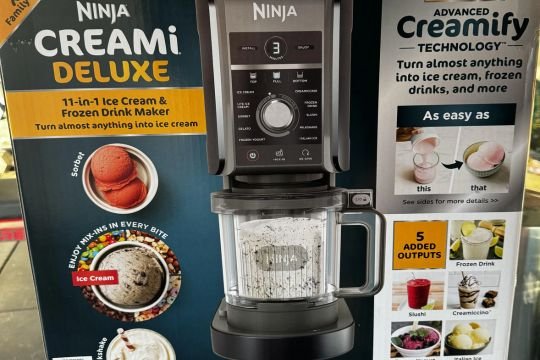
The Ninja Creami is a revolutionary kitchen gadget that transforms frozen drinks, smoothies, and fruit into creamy, ice cream-like treats in seconds. Unlike traditional ice cream makers that require hours of churning, the Creami uses a unique blade system to shave and crush frozen beverages into a soft-serve consistency. The machine comes with multiple modes: slushi, sorbet, gelato, and frozen drink, each designed to process your frozen mixture to the perfect texture.
Using it is incredibly simple: pour your desired mixture into the Creami cup, freeze for at least four hours or overnight, insert the cup into the machine, select your texture setting, and press start. Within minutes, you’ll have a restaurant-quality frozen dessert ready to eat. The beauty of this appliance lies in its versatility and speed, making it perfect for anyone who loves desserts but wants to maintain control over ingredients and nutrition.
Why This High-Protein, Rich Recipe is So Good
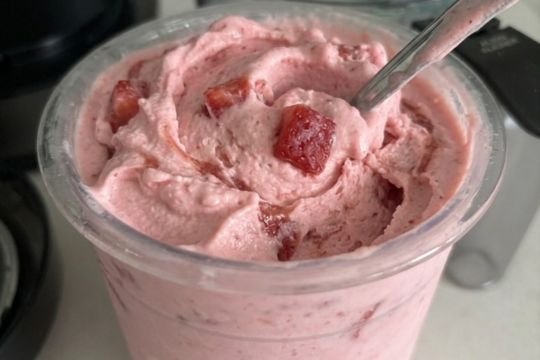
This particular Ninja Creami recipe stands out because it combines indulgence with nutrition in a way that feels completely guilt-free. By incorporating protein powder as the base, you’re creating a dessert that actively supports your fitness goals rather than working against them. The creaminess comes from Greek yogurt and whole milk, creating a rich, smooth base that rivals any premium ice cream shop, while the protein powder adds substance without adding that chalky aftertaste many protein products are known for.
When you freeze this mixture and process it through the Creami, the result is a silky, luxurious frozen treat that satisfies your sweet tooth while delivering 20+ grams of protein per serving. This means you can enjoy a full-sized dessert portion without the guilt, knowing you’re actually fueling your body with nutrients that support muscle recovery and sustained energy. The recipe is also completely customizable, swap flavors, adjust sweetness levels, and experiment with mix-ins to create endless variations that keep your dessert rotation fresh and exciting.
What to Do If You Don’t Have a Ninja Creami
You can still make a creamy, high-protein frozen dessert with a few simple methods. The easiest option is using a blender or food processor. Freeze your mixture in a shallow container, then break it into chunks and blend until smooth. You may need to add a splash of milk to help it blend and reach that soft-serve consistency.
Another option is the classic no-churn method. Pour your mixture into a freezer-safe dish, freeze it, and stir every 30 to 45 minutes for a few hours to break up ice crystals. This helps create a smoother texture, though it won’t be quite as airy as the Creami version.
If you have a stand mixer or hand mixer, you can also whip the partially frozen mixture to incorporate air and improve creaminess. While these methods take a bit more effort, they still deliver a satisfying, protein-rich dessert without needing any special equipment.